Published On Jun 23, 2018
Most important WARNING: Use the support jack as shown in the video! If the lower arm is not supported when removing the shock, unwanted dangerous things can happen! You need to have a clear understanding what happens, when you remove bolts on a suspension! If in doubt leave this job to a professional, follow the proper vehicle manufacturer's procedures!
The German company Bilstein has a shock factory here in the US in Ohio. Bilstein shocks are known in Europe for great quality, and the ones i used come with Limited Lifetime Warranty!
A good reason for me to replace the oil leaking OEM shocks on my Jeep.
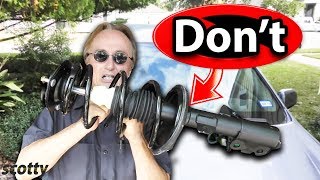
After replacing the rear shocks first it is time now to replace the front struts. (Model 4600)
How easy is this install? The most difficult part is the Hub Nut, because it was tightened with 310 Nm. An impact wrench is the easiest way to get those nuts off.( • Unboxing Earthquake XT 20V Max Lithiu... )
Then we need to compress the coil spring, when changing the shock in the strut assembly. I found a Strut Spring Compressor Set from Maddox to be very helpful. ( • Unboxing Maddox Strut Spring Compressor )
I needed a GO-THRU socket kit with an 18mm socket twice. Example: Harbor Freight 62327
You will be surprised how much better the ride is after you get those shocks.
If you need to see the rear shocks replaced, then look at my other video here: • 2011-2018 Jeep Grand Cherokee WK2 NEW...
00:00:00 Intro
00:00:15 Jack points
00:00:47 Prepare hub nut for removal
00:00:47 Prepare upper control arm balljoint for removal
00:01:28 Removing the hub nut with 32mm socket
00:01:28 Dome nuts removal with 13mm socket
00:02:04 Speed sensor cable
00:02:42 Brake caliper
00:03:18 Sway bar link with 8mm and 18mm sockets (special tool)
00:03:50 Upper control arm ball joint with 21mm socket
00:04:07 Lower shock mount with 21mm and 24mm socket
00:05:00 Replacing the shock in the strut assembly
00:08:23 Re-installing the strut