Published On Dec 19, 2017
The usual thing to do when a headset stops working is to throw it away and buy a new one. In this tutorial, I teach you how to repair almost any headset.
To begin with, you will have to identify the fault, in this case it is easy as it is in the 3.5mm male jack. In other cases, it could be in any part of the cable, so you would have to bend it until it sounds, at that moment, you have already found the problem.
Also, it could be the split solder or the weakened cable, inside the headphones. In that case, the repair is a little complicated, since, depending on the model, it may be unfeasible to open them.
Here are the links to the connectors:
3.5mm Jack connector Gold-plated TRS metal: https://a.angelysusreparaciones.com/j...
https://a.angelysusreparaciones.com/j...
https://a.angelysusreparaciones.com/j...
3.5mm male TRS spring loaded metal jack connectors: https://a.angelysusreparaciones.com/j...
3.5mm male TRRS plastic jack connectors: https://a.angelysusreparaciones.com/j...
3.5mm male metal jack TRRS: https://a.angelysusreparaciones.com/j...
You might also be interested:
TRRS 3.5mm audio jack cable: https://a.angelysusreparaciones.com/c...
3.5mm TRRS female connector on printed circuit board: https://a.angelysusreparaciones.com/j...
INDEX:
0:00 Introduction.
2:33 How can we fix it?
3:46 Stripping the cable.
4:13 Which connector do I put in?
5:00 Passing the cap and preparing the shrink sleeve.
6:16 Removing the varnish from the cables.
7:11 Tinning the wires.
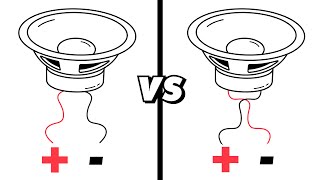
7:32 Identifying which wire belongs to which channel.
9:30 Identifying the terminals in the 3,5mm jack connector.
9:48 Soldering the wires.
11:12 Testing the sound.
11:55 Putting on the shrink sleeve.
12:26 Repair completed.